 By Owen Palmer
Updated November 2026
A good laminate wood flooring cleaner removes dirt and sticky residue without soaking the seams or dulling the protective wear layer. This guide walks you through picking the right cleaner, mixing it correctly, and cleaning in a way that keeps your floor looking new for years. Most of the work takes about 20 to 30 minutes for an average room.
Choose a Cleaner Made for Laminate
Laminate has a fiberboard core and a printed, resin-coated surface. Harsh solvents, abrasive powders and oil-based products can cloud that surface or swell the edges. Look for a cleaner the manufacturer labels as safe for laminate, or one that is pH-neutral and water-based. Many owners also use a few drops of mild dish soap in plain water, which works well for routine cleaning.
Shopping for one? See our guide: 7 Best Light Wood Laminate Flooring Options for Every Room.
If you are unsure what your floor is made of, read the Wooden Laminate Flooring Identification: How to Tell What You Have guide before you buy anything. Knowing the surface type helps you match the cleaner to the finish.
Step-by-Step Cleaning Method
- Sweep or vacuum first. Use a soft-brush setting so grit does not scratch the surface. Grit left behind turns into scratches once you start mopping.
- Check the manufacturer’s instructions for dilution. Many cleaners are used at a few ounces per gallon of water, but follow the label exactly.
- Wring the mop or microfiber pad until it is barely damp. Excess water is the main cause of swelling at seams.
- Mop in small sections, about 3 to 4 feet at a time, working with the grain of the planks.
- Go over sticky spots with a damp cloth and a little extra cleaner. Avoid scrubbing hard.
- Wipe the section dry with a clean, dry microfiber cloth before you move on. Let the floor air dry for a few minutes before walking on it.
Routine Care and Spot Treatment
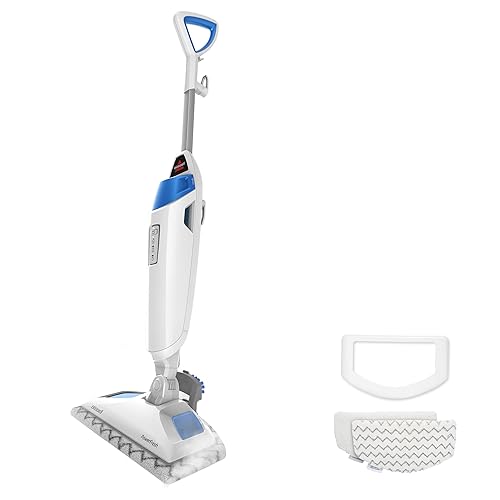
Daily or weekly dry dusting prevents most buildup. For spills, blot right away instead of wiping across the surface, which can spread liquid into the seams. Dried food or shoe marks usually lift with a damp cloth and a small amount of cleaner. Avoid steam mops, since heat and moisture can push water into the joints.
Useful Tools at a Glance
| Task | Tool | Why It Helps |
|---|---|---|
| Dry dusting | Soft microfiber dust mop | Picks up grit without scratching |
| Wet cleaning | Well-wrung microfiber mop | Lifts dirt with minimal moisture |
| Spot treatment | Soft cloth and cleaner | Targets marks without soaking |
Common Mistakes to Avoid
- Using too much water. Standing moisture is the fastest route to seam damage.
- Skipping the dry sweep. Trapped grit acts like sandpaper under a mop.
- Choosing vinegar, ammonia or bleach-heavy products. These can dull or stain the finish over time.
- Scrubbing with steel wool or abrasive pads. These leave permanent marks.
- Ignoring the manufacturer’s care guide, which often specifies approved products.
Recommended Gear
- Microfiber dust mop: Its soft fibers trap dust and grit without scratching the surface. View on Amazon
- Flat microfiber mop with washable pads: It lets you wring the pad tightly, which keeps moisture low. View on Amazon
- Laminate floor cleaning solution: A formula labeled for laminate is designed to clean without leaving film. View on Amazon
FAQ
Can I use vinegar as a laminate wood flooring cleaner?
Many owners use very diluted vinegar, but acidic solutions can dull some finishes over time. Check your manufacturer’s guidance before using it regularly.
How often should I clean laminate floors?
Dry sweep or vacuum once or twice a week in active rooms, and mop with a damp pad every few weeks or as needed for spills and buildup.
What should I do if my floor looks cloudy after cleaning?
Cloudiness is usually leftover residue from too much cleaner or water. Wipe the area with a barely damp cloth and dry it well. If the problem persists, consult the floor manufacturer or a flooring professional.
Conclusion
A gentle, laminate-safe cleaner used with a barely damp mop will keep your floor clean without harming it. Sweep first, work in small sections, and dry as you go. Following these habits will protect the finish and the seams for the long run.
Related reading
- Wooden Laminate Flooring Identification: How to Tell What You Have
- Laminate vs Vinyl Flooring
- Laminate Flooring Prices with Installation: What to Expect
- Laminate Flooring Installation Rates: What DIY and Pros Charge (2026)
Ready to choose one?
About Owen Palmer
Owen Palmer is part of our editorial team and reviews and edits our DIY home renovation guides, checking product details against manufacturer specifications and owner feedback.