By Owen Palmer
Updated November 2026
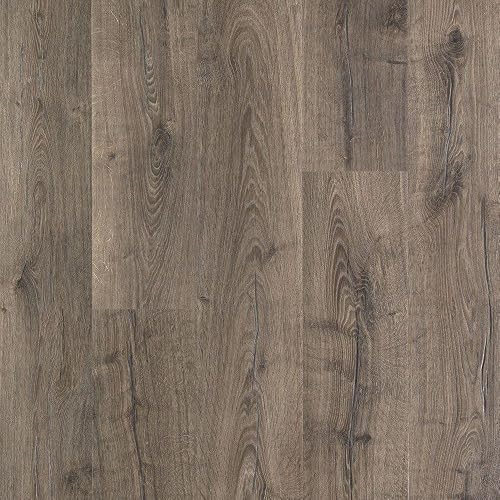
Pergo XP laminate flooring is a click-together floating floor that you can install yourself over most flat, dry subfloors in a weekend. This guide walks through what to check before you start, how to lay the planks and how to finish the edges so the floor stays tight for years. We learned most of this the slow way, so the mistakes section below is worth a few minutes of your time.
Prepare the Room and the Subfloor
Start by emptying the room and pulling up baseboards and shoe molding. Leave a gap of about 1/2 inch around the perimeter for expansion, since laminate needs room to move with changes in humidity. Check the subfloor with a 6-foot straightedge. Dips or humps larger than 3/16 inch over 10 feet should be sanded down or filled before you begin, because a bumpy base will show up as creaking and separated seams.
Shopping for one? See our guide: 7 Best Laminate Flooring Installation Tools for DIY Renovators (2026).
Lay the Underlayment and First Row
Roll out your underlayment with the seams taped and the edges butted tightly. Then decide which wall to start from. Most installers work from the longest straight wall toward the room’s exit so they are not walking on finished floor. Lay the first row with the tongue facing the wall, using spacers, and make sure each board locks fully before moving on.
Cutting Planks to Fit
Measure the last plank in each row and subtract the width you need for the expansion gap. A jigsaw with a fine-tooth blade works for cutouts around pipes, and a miter saw gives the cleanest straight cuts. Cut from the back of the plank when you can, since the finished face is more likely to chip.
Click the Rows Together and Finish the Edges
Angle each new plank into the previous row, lower it flat and tap the joint closed with a tapping block and a rubber mallet. Stagger end joints by at least 6 inches from row to row so the floor looks random and stays stronger. Once the last row is in, remove the spacers and install quarter-round or T-molding to cover the expansion gap. Do not nail or glue trim to the floor itself, since that restricts movement.
Recommended gear
- A tapping block lets you close joints without damaging the locking edge. View on Amazon
- A pull bar helps you snug the last row against the wall when there is no room to swing a mallet. View on Amazon
- Spacers hold the expansion gap steady while you work. View on Amazon
Common Mistakes
- Skipping the expansion gap, which often leads to buckling in humid months.
- Installing over a damp or uneven subfloor without checking moisture first.
- Lining up end joints too closely between rows, which weakens the floor.
- Forcing a plank into place instead of checking that the previous joint is fully locked.
- Gluing trim to the floor, which blocks the planks from moving.
FAQ
Can I install Pergo XP laminate flooring over tile?
Many installers do it, but the tile must be flat, well bonded and level. Any loose or high tiles will show through the laminate, so fill and smooth the surface first.
How long should the flooring acclimate before installation?
Manufacturers generally recommend letting the planks sit flat in the room for at least 48 hours before installing. Check the packaging or the manufacturer’s instructions for the exact guidance on your product.
Do I need a professional to install it?
Most homeowners with basic tools can complete a click-together floor themselves. If your subfloor has serious structural or moisture issues, consult a qualified flooring contractor before you start.
Conclusion
With a flat subfloor, a proper expansion gap and careful locking, Pergo XP laminate flooring can give you a durable, good-looking floor. Take your time on the first two rows, since they set the alignment for everything after. Check the manufacturer’s instructions for any product-specific steps before you begin.
Related reading
- Wooden Laminate Flooring Identification: How to Tell What You Have
- Laminate vs Vinyl Flooring
- Laminate Flooring Prices with Installation: What to Expect
- Laminate Flooring Installation Rates: What DIY and Pros Charge (2026)
- Laminate Flooring Installation Kits: What to Buy and How to Use Them
Ready to choose one?
About Owen Palmer
Owen Palmer is part of our editorial team and reviews and edits our DIY home renovation guides, checking product details against manufacturer specifications and owner feedback.