By Claire Russell
Designing a small bathroom remodel comes down to one goal: getting more usable space, storage and light out of a footprint that may be only 35 or 40 square feet. By the end of this guide, you will have measured the room, chosen a layout that works, picked fixtures sized for the space, and built a simple plan you can take to a materials store or hand to a contractor. The process is mostly about deciding things in the right order, so you avoid buying a vanity that blocks the door or a shower that leaves no room to bend down.
Step 1: Measure the Room and Record Every Obstacle
Start with accurate measurements. Measure wall lengths at floor level and at about 6 feet high, because out-of-square walls are common in older homes and they change how cabinets and tile will fit. Note the door swing, window sill height, the location of the drain and supply lines, and any vent stacks. Sketch the room on graph paper at a scale of 1 inch to 1 foot, or use a free floor planning app.
- Overall wall lengths and ceiling height
- Door width and swing direction
- Window size, sill height and whether it opens
- Toilet flange center distance from the finished wall (usually 12 inches, sometimes 10)
- Location of the drain, supply stub-outs and vent
- Electrical outlets, switches and the existing exhaust fan
Plumbing location is the hardest thing to change later. If you plan to move the toilet or shower drain more than a few inches, budget for a licensed plumber and possibly a floor opening. Keeping the existing drain locations is one of the most effective ways to control the scope of a small bathroom job.
Step 2: Choose a Layout That Fits the Footprint
Most small bathrooms use one of four layouts: a three-piece with the shower-tub combo on one wall, a shower-only layout with a compact vanity, a layout with the vanity on the short wall facing the door, or a wet room with a curbless shower. Each has trade-offs in clearances and plumbing cost. The table below gives common minimum clearances that many building codes and fixture manufacturers reference. Always check your local code and the specific fixture spec sheet.
| Area | Typical minimum | Why it matters |
|---|---|---|
| Toilet centerline to side wall | 15 inches | Comfortable use and code compliance |
| Clearance in front of toilet | 21 inches | Room to sit and stand |
| Clearance in front of vanity | 21 inches | Opening drawers and turning around |
| Shower interior (stall) | 30 x 30 inches minimum | Usable space for standing and washing |
| Walkway width | 24 inches minimum | Moving through without turning sideways |
Sketch two or three layouts on your plan and walk each one with painter’s tape on the floor. Tape out the door swing, the vanity footprint and the toilet clearance. Many people discover that a 24-inch vanity works better than a 30-inch one because it keeps the walkway open. For more on pairing layout with storage, see Small Bathroom Renovation: Space Planning, Storage and Lighting, which covers how cabinet depth and door placement interact.
Step 3: Select Fixtures Sized for a Small Room
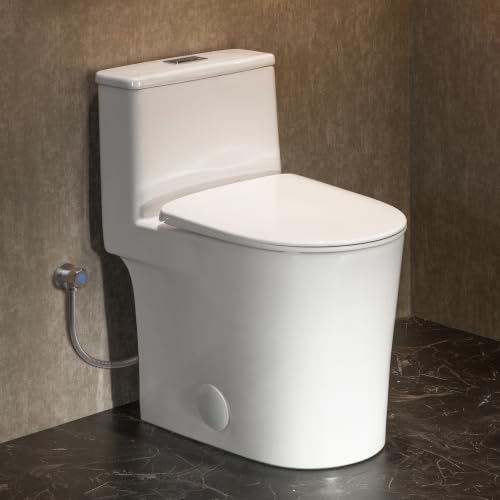
Fixture choice can make or break a compact bathroom. A wall-hung toilet frees floor space and makes cleaning easier, though it requires an in-wall carrier and more work during install. A compact round-front toilet can save several inches of depth compared with an elongated model. For vanities, a wall-mounted sink with a shallow cabinet or a 20- to 24-inch vanity often beats a full-depth base. Sinks with a narrow profile help keep the front clearance open.
When you compare options, look at projection (how far the fixture extends from the wall), rough-in dimensions and the required clearances listed in the manufacturer’s spec sheet. For a detailed breakdown, read How to Choose the Right Fixtures for a Small Bathroom. If you plan to replace the faucet as well, Types of Bathroom Faucets and How to Install Them explains which styles fit shallow sinks.
Step 4: Plan Storage Without Crowding the Floor
Small bathrooms run out of storage first. Use vertical space: tall, narrow cabinets next to the toilet, a recessed medicine cabinet (recessed units typically need about 3.5 inches of wall depth), and shelves above the toilet tank at least 15 inches above it. Over-the-door organizers and a towel bar on the back of the door add surface area without taking floor space. A mirror with built-in shelving can replace a separate cabinet if the wall is limited.
Keep frequently used items at about waist to shoulder height so you do not have to bend. Put the heaviest items, like spare toilet paper, in the lowest drawers. If you are choosing mirror styles to combine with storage, Choosing and Mounting Different Bathroom Mirror Styles covers hanging heights and clearances.
Step 5: Layer the Lighting and Ventilation
Small rooms feel smaller when they are dim. Plan three layers: ambient light from a ceiling fixture, task light at the mirror (vanity lights mounted at about 75 to 80 inches above the floor, or on either side of the mirror at face height), and accent light such as an LED strip inside a niche. Use lamps rated for damp locations where needed, and check the fixture’s wet-location rating before installing it in or near the shower.
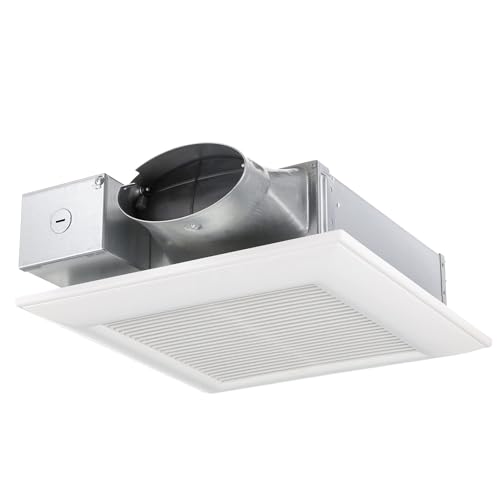
Ventilation is not optional. Size the exhaust fan by the room’s cubic footage. Many references suggest about 1 CFM per square foot for bathrooms, with a minimum of 50 CFM, though local codes may differ. Vent the fan to the outside, not into the attic. For fan options, see 16 Best Bathroom Exhaust Fans.
Step 6: Choose Flooring and Wall Finishes That Reflect Light
Larger tiles with fewer grout lines make a small floor look more continuous. Light-colored porcelain tile with a matte or slight texture hides water spots and reflects light. On walls, consider a single tile type or a tile-to-ceiling pattern, which draws the eye up. Use a waterproof membrane behind wet areas and make sure the shower slope is at least 1/4 inch per foot toward the drain. For details on substrates and waterproofing, read Bathroom Tile and Waterproofing Basics and Choosing and Installing Bathroom Flooring Materials.
Grout and sealant lines need regular care in a wet room. Selecting and Maintaining Bathroom Grout and Caulk explains which products suit shower corners and where to use caulk instead of grout.
Step 7: Build a Timeline and Budget Checklist
Break the project into phases so you know what to order and when. Demolition and rough plumbing come first, then inspection, then waterproofing and tile, then fixtures and finish carpentry. Order long-lead items like a custom vanity or a specific tile early, because delays there can stall the whole job.
- Confirm permits and inspection requirements with your local building department
- Finalize layout and fixture rough-in dimensions
- Order fixtures, vanity, tile, mirror, fan and lighting
- Schedule demolition, plumbing and electrical rough-in
- Complete inspections before closing walls
- Install waterproofing, backer board and tile
- Set fixtures, trim, paint and final electrical
- Test the shower, drains and fan before daily use
If you plan to install the vanity yourself, How to Install a Bathroom Vanity: A DIY Guide walks through leveling, anchoring and connecting supply lines.
Step 8: Test the Plan Before You Commit
Before ordering anything, do a dry run. Cut cardboard to the dimensions of the vanity, toilet and shower, then place them on the floor with the door open and closed. Stand in the shower and check whether you can reach the controls and rinse without hitting the door or wall. Sit on the toilet and check the knee clearance to the vanity. If something feels tight in the cardboard version, it will feel tighter in real life.
Common Mistakes to Avoid
- Choosing a vanity or toilet before confirming the rough-in dimensions
- Placing the shower door so it swings into the toilet or sink clearance
- Skipping a dedicated exhaust fan, which leads to peeling paint and mold
- Using standard drywall or tile backer in wet zones instead of moisture-resistant or cement board
- Installing lighting without checking the wet-location rating
- Forgetting blocking for grab bars or a future handheld shower
- Making the shower smaller than the 30 x 30 inch minimum to save a few inches elsewhere
Tips for a Better Small Bathroom Plan
- Use a pocket door or a door that swings outward to free up floor space
- Choose a glass panel or curtain instead of a bulky swing-out shower door
- Pick light-colored finishes and a single consistent material to avoid visual clutter
- Install a mirror that spans most of the wall width to make the room feel wider
- Leave room for a future upgrade by stubbing in extra electrical or blocking now
FAQ
What is the minimum size for a small bathroom remodel?
A workable bathroom can be as small as about 5 by 7 feet, but a shower of at least 30 x 30 inches and 21 inches of clearance in front of the toilet and vanity are important. Smaller rooms may need a shower-only layout or a sliding door to function.
Should I move the toilet or shower drain during a small remodel?
Moving drains adds cost and complexity because it may require opening the floor or ceiling below. Keep existing drain locations where possible. If you must move them, hire a licensed plumber and confirm the new layout with your local building department.
What exhaust fan size do I need for a small bathroom?
A common guideline is about 1 CFM per square foot, with a minimum of 50 CFM. A 40-square-foot bathroom would therefore need at least 50 CFM. Check your local code, since some areas specify a different standard.
Is a wall-hung toilet worth it in a tiny bathroom?
A wall-hung toilet can free visible floor space and make cleaning easier, but it requires an in-wall carrier and careful installation. It works best when the wall is open during the remodel. Confirm the carrier’s rough-in requirements before purchasing.
Can I make a small bathroom look bigger with mirrors?
Yes. A large mirror or a mirror that spans the vanity width reflects light and creates depth. Pairing it with lighter colors and fewer visual breaks in the tile helps the room feel more open.
Which finishes are best for a small bathroom with a lot of moisture?
Porcelain tile, cement backer board, and a waterproof membrane behind the shower are common choices for moisture control. Use mold-resistant paint or a semi-gloss finish on walls and ensure the fan is working properly.
Do I need a permit for a small bathroom remodel?
Permit requirements vary by location. Plumbing, electrical and structural changes usually require permits, and inspections are often needed before walls are closed. Contact your local building department before starting.
Conclusion
Designing a small bathroom remodel is mostly about careful measuring, honest clearance planning and choosing fixtures that fit the room rather than the showroom display. Test your layout with cardboard and painter’s tape before committing to purchases. Use vertical storage, layered lighting and a properly sized fan to make the space feel comfortable every day. A thoughtful plan at the start saves time, money and frustration during the build.

About Claire Russell
Claire writes about diy home renovation. Each guide starts with research into how products are built and what owners report after months of use, and is revised when better options appear.